This article explains how to clone and assign an assessment.
Cloning assessments makes a copy of the structure of the assessment and all the associated documents. That is, question names, point ranges and proficiencies, standards alignments, etc.
If a user has access to an assessment, that assessment can be cloned.
Pause! A few considerations before cloning...
There are potential downsides to cloning an assessment.
- Data will now be in a separate assessment. When data is aggregated in reports by assessment, cloned assessment data won't show up in the "original" assessment. Example: A teacher doesn't like a question on the USNS. They clone the assessment and enter data. Their student data will not show up in any reports across the grade level when looking at data.
- Some printable docs/Handouts are tied to specific assessments. Cloning breaks this link. Example: A teacher doesn't like a question on the fall USNS and they clone the assessment. The printable documents will no longer work.
You no longer need to clone an assessment to reassess! Read more here.
Cloning Assessments
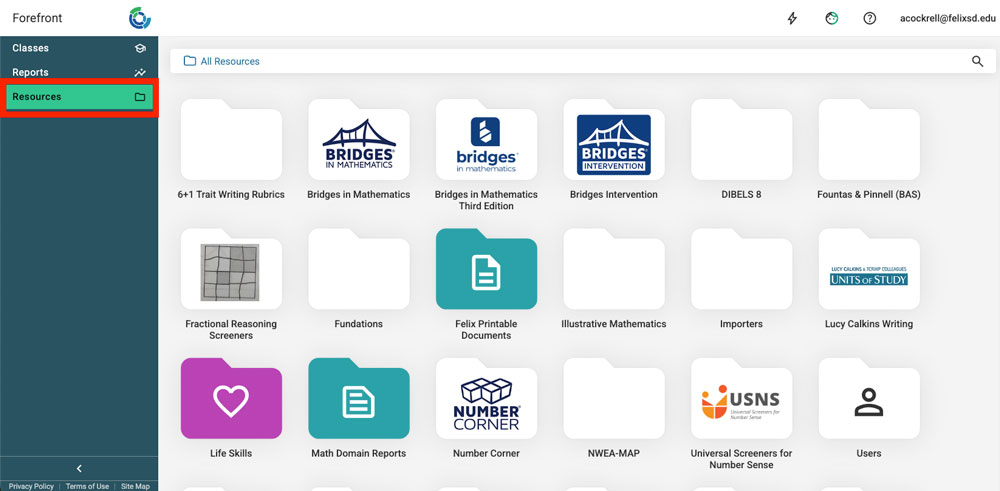
Step 1: Navigate to the assessment by clicking on "Resources" in the left side navigation and using the file structure to locate the assessment.
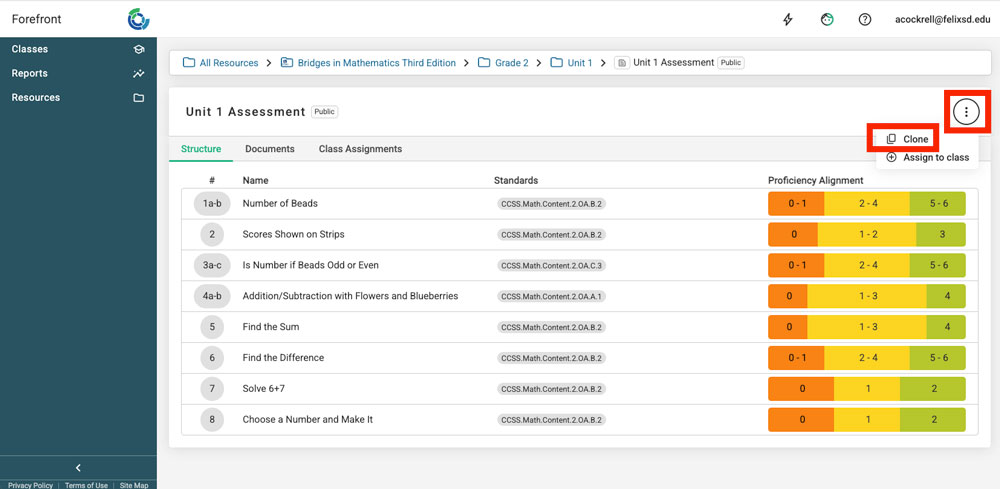
Step 2: Open the assessment. Click the three-dot menu in the upper right corner. Click "Clone."
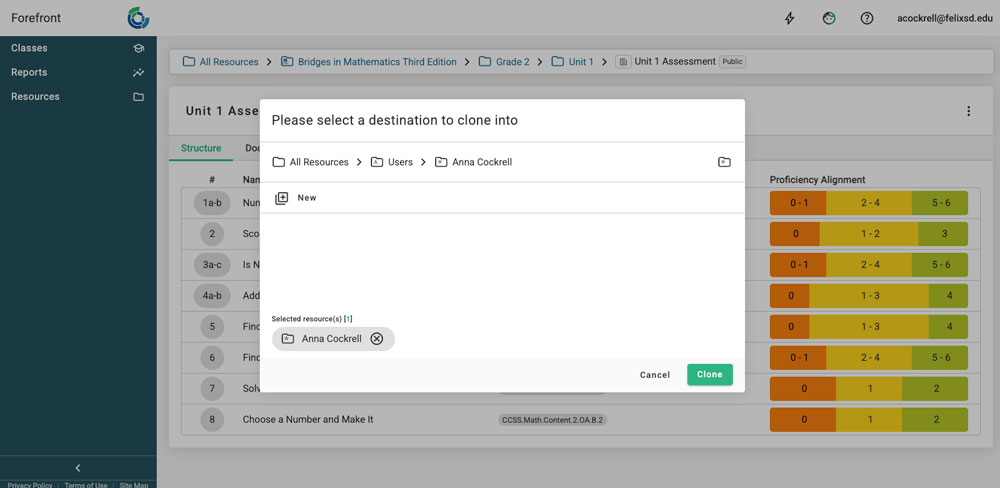
Step 3: This will open up a pop-up where users can select the destination they want for the cloned assessment. The default is the user's own folder. Click "Clone."
Clicking "Clone" will open a pop up that allows users to open the newly cloned assessment. Users can check the cloned assessment is in the desired folder by checking the breadcrumb trail at the top.
Then, users have the option to rename the cloned assessment at the top of the assessment.
Users can modify other aspects of the assessment if they have assessment building functionality. Learn more about that here.
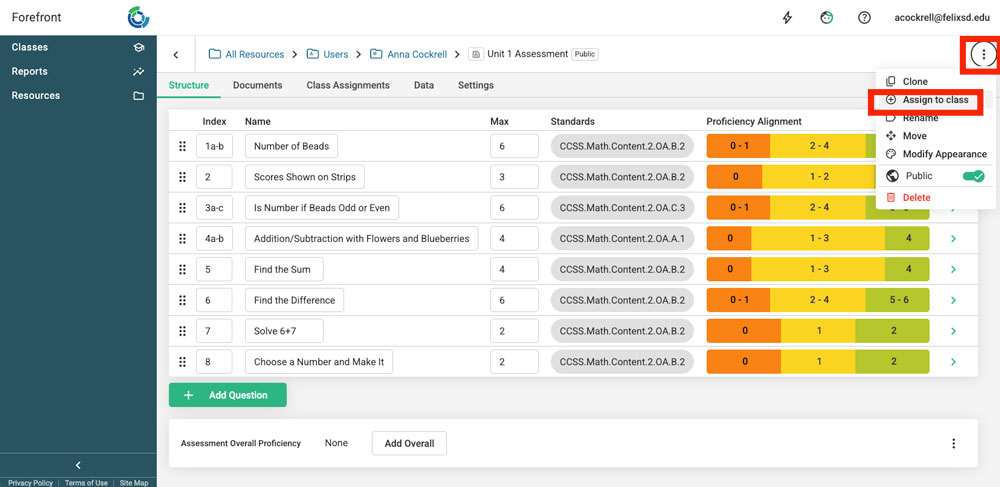
Assigning Cloned Assessments
In the upper right-hand corner, there are options for assigning assessments. Users will have the option to assign to a class or a course, depending on their role and permissions.
Need more support?
Submit a support request or email our team at support@forefront.education.